Presentation
Project management
Computer-aided design
Computer-controlled cutting
Electronics production
3D scanning and printing
Electronics design
Molding and casting
Embedded programming
Computer-controlled machining
Input devices
Composites
Interface and App. programming
Output Devices
Networking and comunications
Mechanical Design
Machine Design
Applications and Implications
Invention, Intellectual Property
Project Development
Final Project Presentations
Extra Project
Links
http://ricardoorg.dx.am/
presentation contact

Interface and Application Programming

This is my first experience creating an interface. To start i learned that there is two things that i should programm, the electronic device, using atmelstudio, Winavr or arduino and the interface using python or processing.

For this assignment I decided to use Processing, because is a software specially developed for visual artist and designers, i though it would be easier but it's still difficult because I have to learn a programming language.

The first step is to download the programm from the website:

http://www.processing.org/download/

i had problems with the beta version for Windows 64bits, but there were no problems with the stable version.

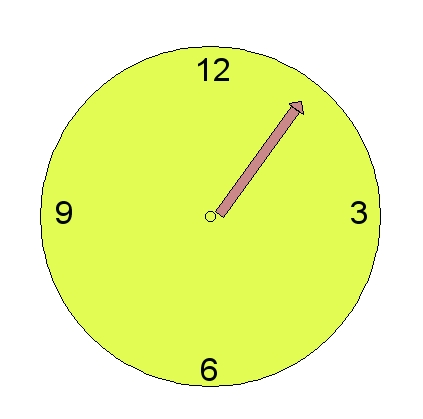
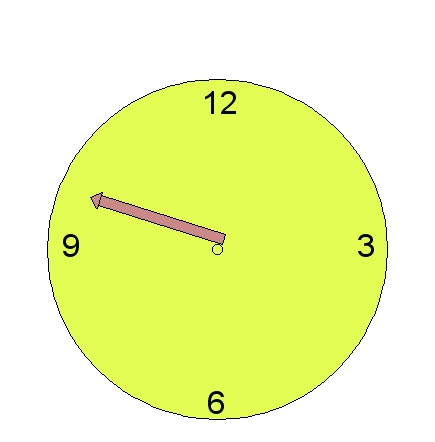
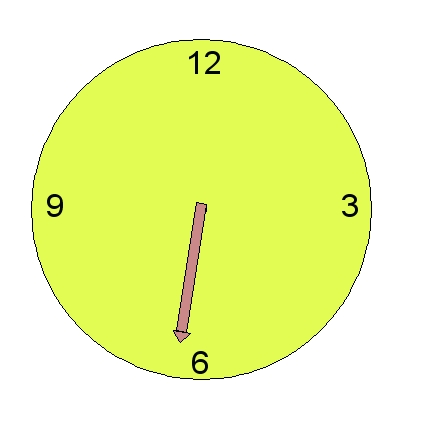
The next step is to learn how to draw in processing, i did this exercise for practice:

//make font object from PFont class
PFont font;
int x=0;
int y=0;
int w=130; //width
int h=9; //height

float rd=0;

void setup(){
size (512, 512);
background(255);
}

void draw(){
//background
fill(#E3FC54);
ellipse(255,255,340,340);
ellipse(255,255,10,10);

//Font
////font numbers
fill(#010501);
font = createFont("X-Files-48.vlw",16, true);
textFont(font, 32);
text("3", 395, 255+8);

font = createFont("X-Files-48.vlw",16, true);
textFont(font, 32);
text("6", 245, 420);

font = createFont("X-Files-48.vlw",16, true);
textFont(font, 32);
text("9", 100, 255+8);

font = createFont("X-Files-48.vlw",16, true);
textFont(font, 32);
text("12", 240, 120);

//needle
fill(#CB8888);
//translate(255,255);
//rotate(radians(100),255,255,0);
//rect(250, 250, 130, 10);
//rect(250,250,10 ,90);

pushMatrix();
//move pivot point
translate(255+5,250);
//roate
rd+=0.1;
rotate(radians(rd));
//make object original point
fill(#CB8888);
rect(0, 0, 130, 10);
//rect(250,250,10 ,90);
triangle(x+w,y+h+5,x+w, y-h+5, x+w+10, y+5);
popMatrix();


//triangle(245,340,265,340,255,350);


//arc(50, 50, 80, 80, 0, OPEN);
}


This programm is for my clock and so i learned to use the programm. The most important thing is to be organized writing the programm.

Then i read Anna Kaziunas's tutorial and i discover the way to connect processing to the light sensor. This is with the Serial function:

http://www.as220.org/fabacademy/tutorials/interface_application_programming_processing.php

And this is the interface that shows this tutorial:

Then i decided to give a fun function to this assignment and i decided to insert an image, I highly recommend to use the page of Processing, the part of Reference

http://www.processing.org/reference/

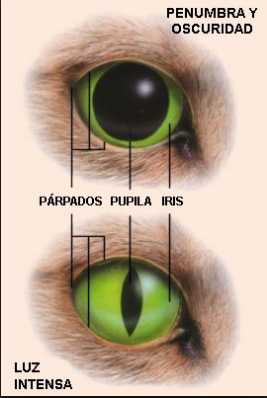
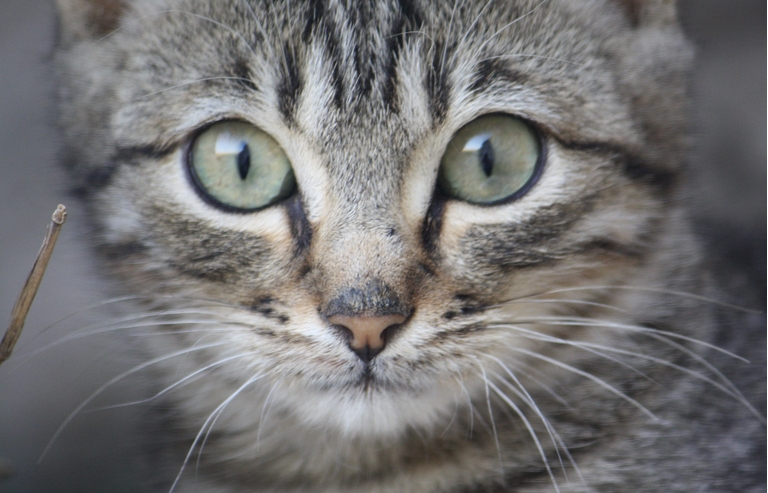
I decided to do the animation with eyes of a cat and use the sensor to control the size of the eyeball.

This is my programm:

import processing.serial.*;

Serial serialPort; // Create object from Serial class
PImage img;
int w=10; /// width
int h=40; /// height
int bg=0; int ancho_ojo = 0;
int bias = 0;

void setup(){
size (500,500);
frameRate(35); ///frames per second
img = loadImage("kot.png");
background (65);
println(Serial.list());
serialPort = new Serial(this, Serial.list()[0], 9600);
}
void draw(){
//
while(serialPort.available () > 0){
w= serialPort.read();
//////////////////////////////////////////////////////////
if(w<=4){
// NADA anular valores que no sirven del sensor
}else{
println(w); ///for showing the list of the light sensor
if ( w > 100){ // POCA LUZ
// background(0); // NEGRO
bias = 1;

}else{ // MUCHA LUZ
// background(255); // BLANCO
bias = -1;
}

fill(#000000);

ancho_ojo = ancho_ojo + bias;
if(ancho_ojo > 80) ancho_ojo = 80;
if(ancho_ojo < 10) ancho_ojo = 10;

bg=bg+bias*32;
if(bg > 255) bg = 255;
if(bg < 0) bg = 0;

background(255-bg,255-bg,255-bg);
image(img, 0, 0);
ellipse(180,280,ancho_ojo/2,40);
ellipse(325,280,ancho_ojo/2,40);
}
}

}

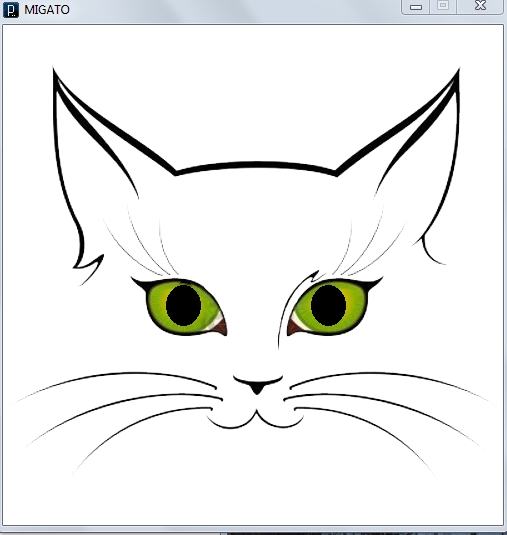
I used photoshop for making the image and this is the result:


© copyright 2013 Web Design by Ricardo Torres Aragón